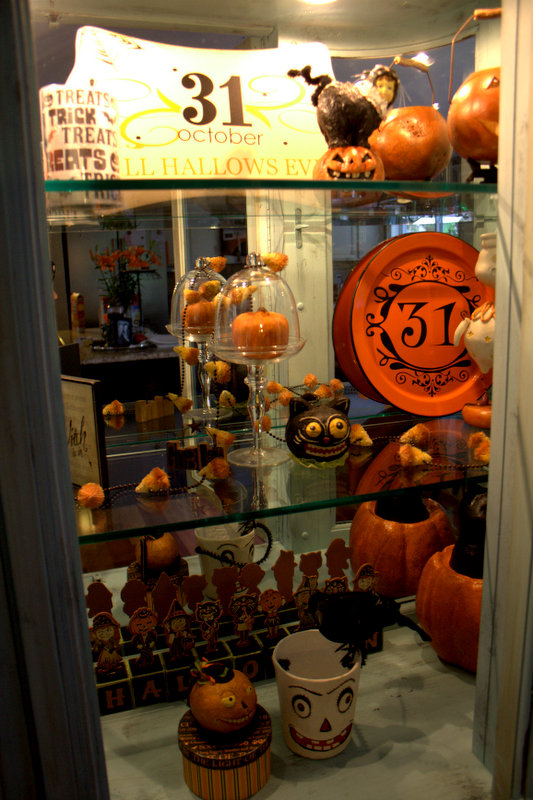
Today I thought I would share some fun
new to me Halloween recipes. Don't forget your presentation! It is a big part of the Halloween experience! Make the food just as BOOtiful as it is delicious!
Adams Scary Apples
are STUNNING! Have you ever seen more beautiful candied apples?
 |
http://www.mattbites.com/
Red & Black Candy Apples
8-10 medium sized apples
8-10 wooden twigs, twimmed
3 cups granulated sugar
1/2 cup light corn syrup
1 cup of water
several drops of cinnamon flavored oil
1/4 teaspoon of red food coloring
1/4 teaspoon of black food coloring Clean and dry the apples. Try to remove as much of the wax as possible. If you purchase them from your local farmer’s market then chances are they have not been treated with the food grade wax that makes then shine. Remove any stems or leaves and insert a twig into the end of each apple. To facilitate easier twig entry you can carefully sharpen the end of the twig or use a candy stick to create a guide hole. Set apples aside. Heat and stir sugar, corn syrup and water in a saucepan until sugar has dissolved. Boil until the syrup reaches 300 degrees on a candy thermometer. Don’t go over 310 degrees or your candy burns and then you’ll be sad. Remove from heat and stir in flavored oil and food coloring. Dip one apple completely in the syrup and swirl it so that it becomes coated with the melted sugar candy. Hold the apple above the saucepan to drain off excess. Place apple, with the stick facing up, onto a baking sheet that’s greased or lined with a silpat. Repeat the process with the remaining apples. If your syrup thickens or cools too much, simply reheat briefly before proceeding. Let the apples cool completely before serving. A note about the black apples: Lighter colored apples (Granny Smith, Golden Delicious) work well in making the red appear bright and glassy; darker apples like red delicious help the black candy appear as dark as possible. Muy spooky! Also, Adam made one batch with red food coloring and after he had a few red apples he reheated the candy mixture and added black food coloring. Adding black to red will make it darker. He repeated the dipping process. Black food coloring can be found online or at specialty baking stores. |
Moldy cheese balls!
ingredients
- 1-8-ounce package cream cheese
- 1 cup finely shredded Gouda cheese (4 ounces)
- 1/4 cup butter
- 1 tablespoon milk
- 1/2 teaspoon Worcestershire sauce for chicken
- 2 tablespoons thinly sliced green onion (1)
- 2 tablespoons snipped fresh dill or 2 teaspoons dried dillweed
- 1/2 cup chopped toasted almonds
- Assorted crackers and/or flatbread
directions
1. In a large bowl let cream cheese, Gouda, and butter stand at room temperature for 30 minutes. Add milk and Worcestershire sauce. Beat with an electric mixer on medium speed until light and fluffy. Stir in green onion and dill. Cover and chill for 4 to 24 hours.
2. Before serving, shape cheese mixture into a ball. Roll ball in nuts and let stand 15 minutes. Serve with crackers or flatbread. Makes about 30 (1-tablespoon) servings.
3. Make-ahead directions: Prepare as above in Step 1. Shape cheese mixture into a ball; wrap in plastic wrap. Freeze for up to 1 month. To serve, thaw the cheese ball in the refrigerator overnight. Unwrap and roll in nuts. Let the cheese ball stand at room temperature for 15 minutes before serving.
4. Prosciutto-Basil Cheese Ball: Prepare as above, except substitute finely shredded fontina cheese for the Gouda cheese; stir in 2 ounces chopped prosciutto and 2 tablespoons snipped fresh basil with the green onion and omit the dill. Substitute chopped toasted pine nuts for the almonds. If desired, serve with apples, crackers, or flatbread.
5. Spicy Taco Cheese Ball: Prepare as above in Step 1, except substitute finely shredded taco cheese for the Gouda cheese, stir in 2 tablespoons bottled chopped jalapeno chile peppers with the green onion, and omit the dill. Substitute 1/2 cup crushed corn chips for the almonds.
6. To make logs: Divide recipe into 4 portions and shape accordingly.
This is another great way to serve the cheese ball-
Crock-Pot Baked Apples
This dessert has the same flavors as apple pie without the guilt of a fattening crust!
Makes 6 baked apples
Ingredients
1/4 cup brown sugar
1/4 cup walnuts, chopped
2 tablespoons trans-fat free margarine
1 teaspoon cinnamon
6 Gala or Macintosh apples, cored
1/2 cup apple juice or apple cider
2 tablespoons orange liquor (optional)
Directions
Preheat a large crock-pot on high heat and preset it for 3 hours. In a large bowl, mix brown sugar, walnuts, margarine, and cinnamon. Fill the apples with the filling and place them in the crock-pot. Pour in the apple juice or cider and the liquor, if using. Cover and cook 2 1/2 to 3 hours on high heat until the apples are soft and begin to collapse.
Cup of mac!
Ingredients1 pound elbow macaroni
1 stick of butter
3 tablespoons Frank's Hot Sauce
2 large eggs
3 (12 ounce) cans of evaporated milk
20 ounces grated extra sharp cheddar cheese
8 ounce block of Monterey Jack cheese with jalepeno peppers, grated
salt and pepper to taste
Directions
Preheat oven to 350.
Boil the pasta until it is slightly under done. Drain and return to pot. Add butter, hot sauce, salt and pepper. Mix well and set aside.
In a bowl, beat eggs slightly, combine with evaporated milk and set aside.
In a second bowl, grate cheeses, combine and set aside.
Prepare muffin tins by spraying with cooking spray.
Stir of grated cheese to cooled pasta. Mix well.
Fill each muffin mold with cup of pasta mix.
Carefully pour enough milk/egg mix into muffin tins placed on cookie sheets.
Place in hot oven and bake for 45 minutes or until muffins have an evenly brown crust.
Remove pans from oven and allow cooling for 20 minutes.
Serve and enjoy!